One thing about me is I love a good, quick, easy freezer meal. The microwaveable little trays of mushy pasta you get in the freezer aisle of the grocery store have been my saving grace many a time when I found myself starved and with not even enough energy to boil a pot of water, but as I’ve gotten older those bland trays just don’t cut it anymore. Spending upwards of $5 on a pre-packaged meal that leaves you hungry again less than an hour later is not my idea of good eating, and so I started stockpiling recipes that would store well in the freezer, not take up too much room, and would most importantly keep me full.
The thing is, you can freeze almost anything if you know how to re-heat it properly. Some things you may need to defrost in the fridge or on the counter before heating, some things can be thrown directly into the microwave or oven straight from frozen. What I specifically wanted was something that could be transferred from the freezer to plate in less than 10 minutes, tasted fresh, and would keep me full until my next meal. The key to this was to make something that 1. didn’t need to defrost before reheating, and 2. was full of fiber. It just so happens that my favourite way of getting fiber in is also an ingredient that freezes extremely well – beans!
Now that I had my main protein picked out I started workshopping possible recipes to build around them, and my mind kept returning to freezer burritos – specifically the bean and cheese burritos that are usually stocked next to those aforementioned microwaveable trays. Now, don’t get me wrong – I love a good bean and cheese burrito as much as the next person, but my issue with those was that they never reheated as well as I would have liked them too – by the time the insides were warm, the outside was a flimsy layer of soggy tortilla which made for a less than pleasant eating experience. I actually used to also make my own breakfast burritos at one point, and believe it or not but when one of those was heated the right way in a pan (not too hot, not too cold) with sufficient steam to heat the insides, they were heaven. The thing is, it was maybe a 25% chance that all the elements were just right enough that it cooked perfectly to have a crisp outside and melty, hot inside, and even then it took at minimum 15 minutes to get there… the other 75% of the time it ended up as a tortilla breakfast scramble that had to be eaten with a fork.
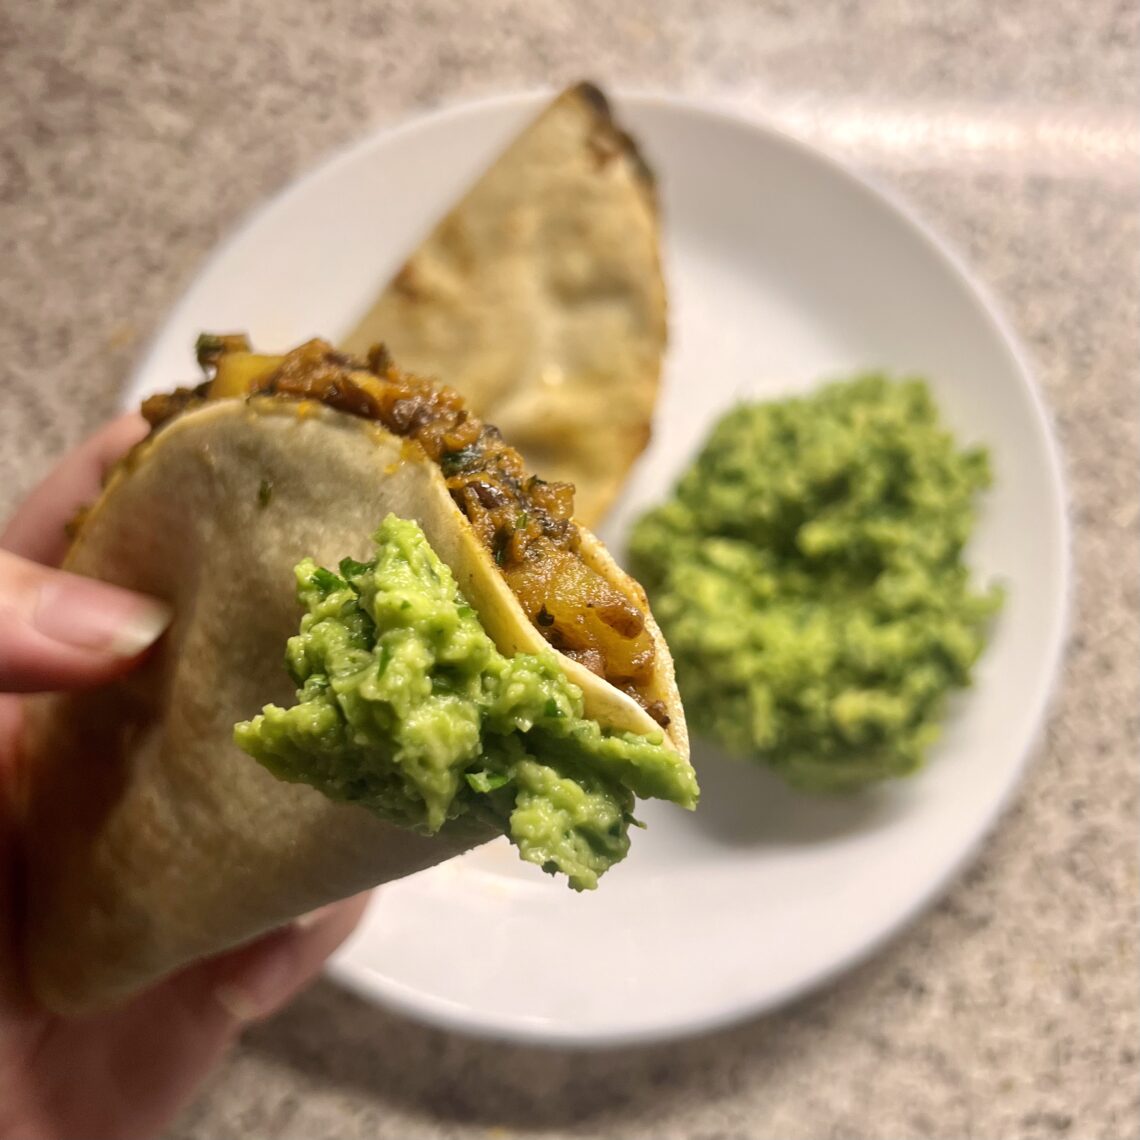
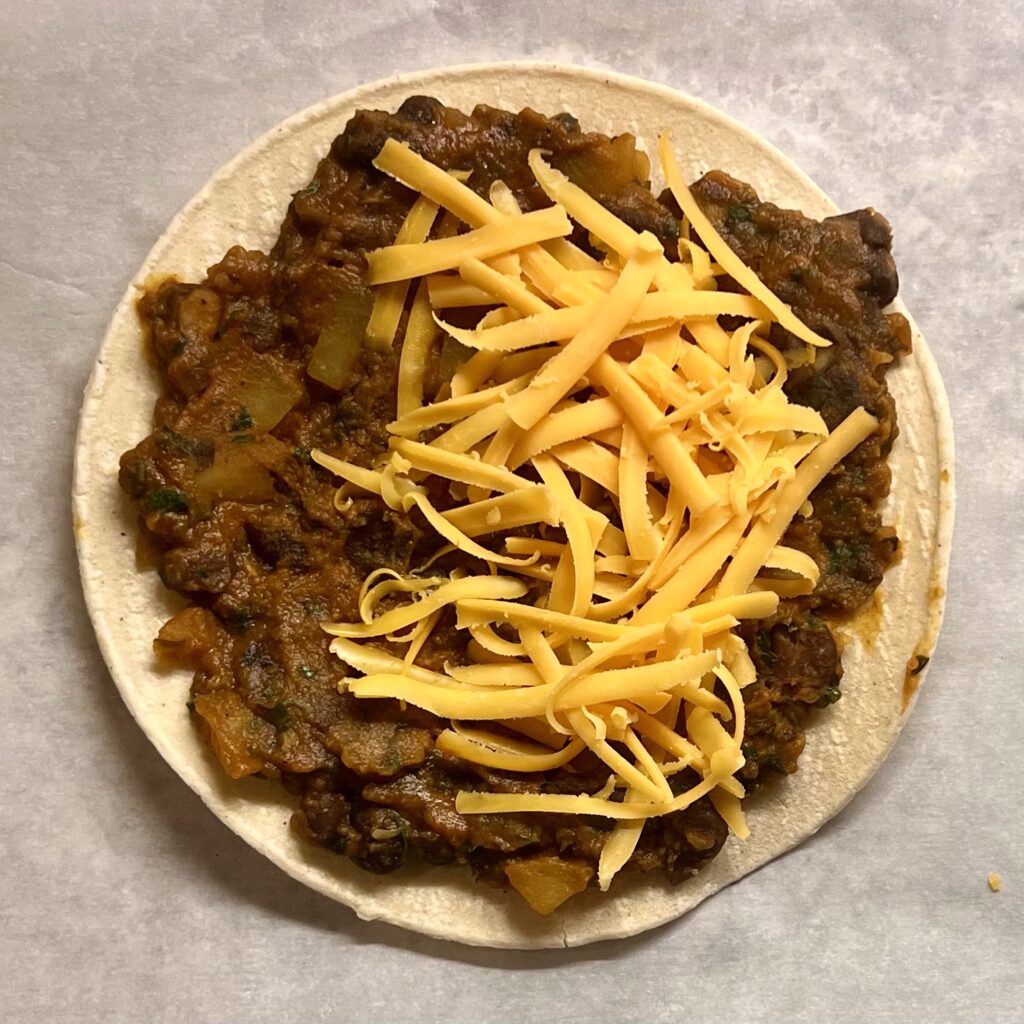
So I kept working. I scoured my cupboards and pantry for other ingredients to pair with the beans, and in my searching found a pack of corn tortillas (I usually keep a bag in my fridge at all times as they seem to last forever) and another pantry staple next to the black beans – potatoes. Tacos! Now I had never actually seen freezer tacos in a store before, but I had seen freezer taquitos and freezer enchiladas and so I figured the corn tortillas would hold up – my main concern was the filling, and how to prevent that from completely leeching out of the sides while re-heating the tacos. Turns out, the secret’s easier than you think – it’s all in how you form the tacos. When filling the tortillas, spreading a thin layer of the mixture across the whole surface of the tortilla, making sure to leave a 1/4 of an inch around the edges, leaves the filling room to expand while also giving you a generous portion of beans and potatoes (and cheese, if you wish) in each taco.
Now, in order to increase the fiber in these further, along with adding some greenery, I added a hefty amount of spinach. Spinach is my absolute favorite go-to green to increase the fiber and iron of any dish I make without impacting the flavour at all, and in these tacos it’s indistinguishable from the rest of the ingredients so you can feed them to your kids without having to worry about them complaining about “that green stuff”. Between the 5 grams of fibre per taco, the creamy, cheesy, spiced filling and the crispy outer shell, the next time you reach for a freezer meal I guarantee you this one will not only leave you but your whole family full and happy.
Ingredients:
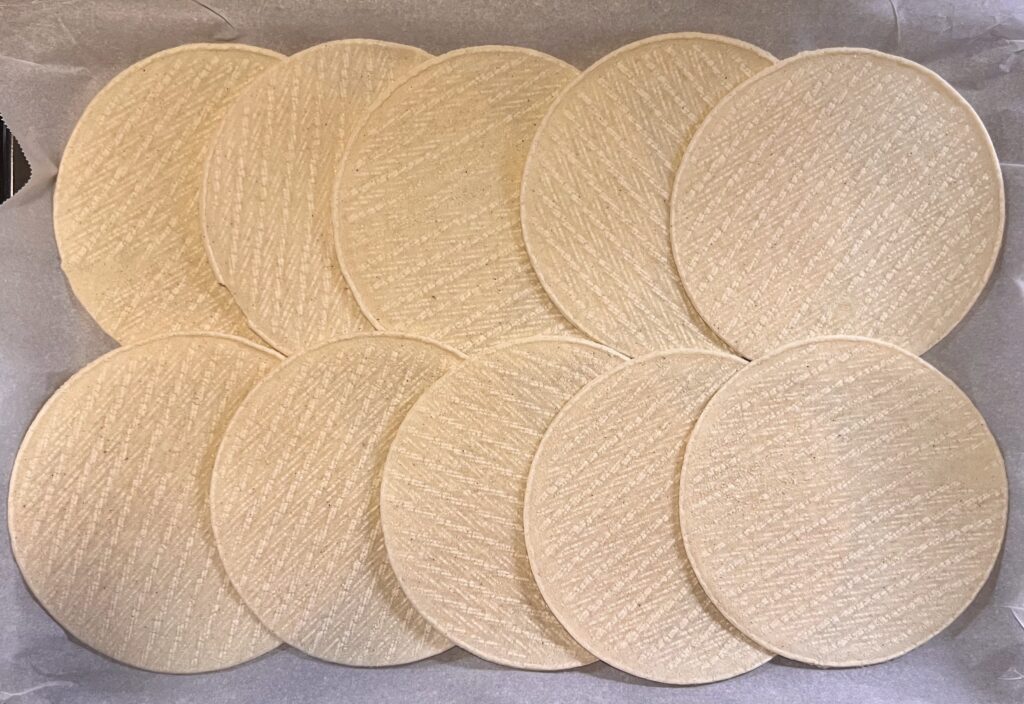
10 corn tortillas
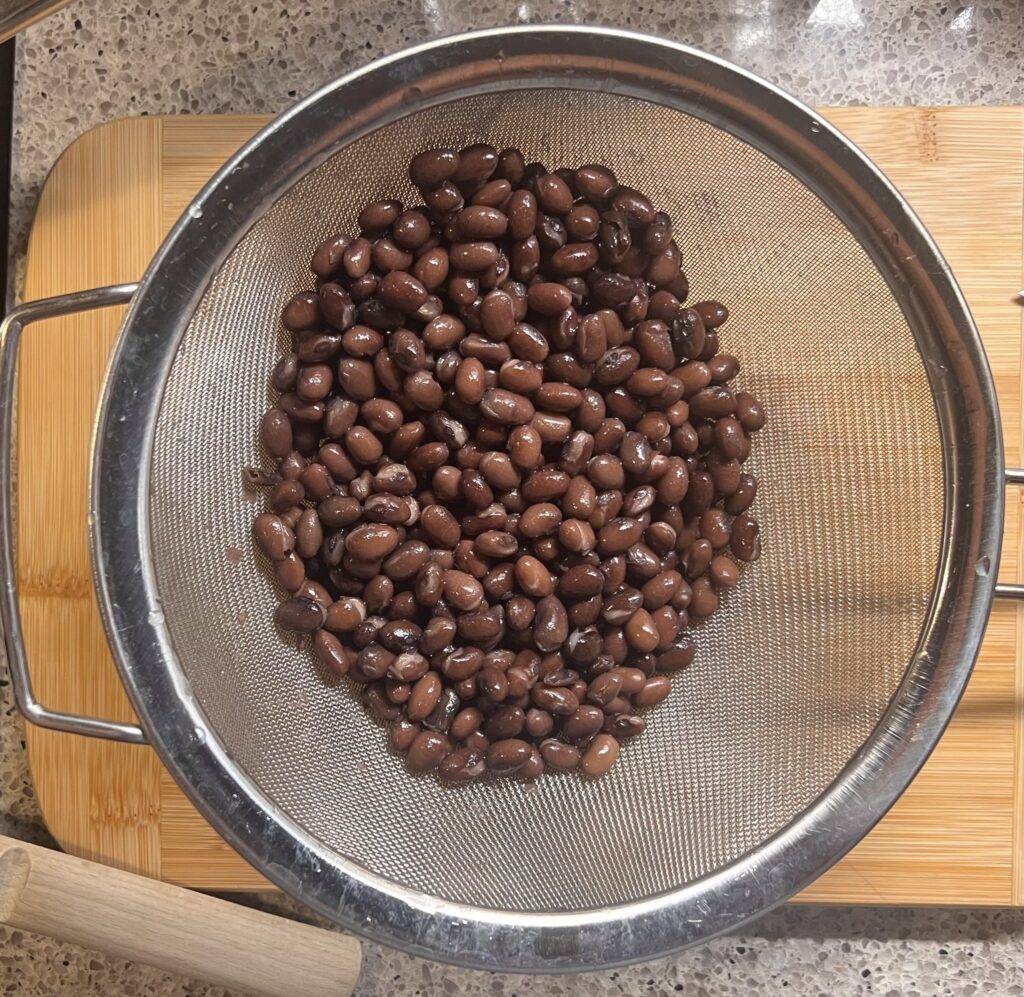
1 can black beans
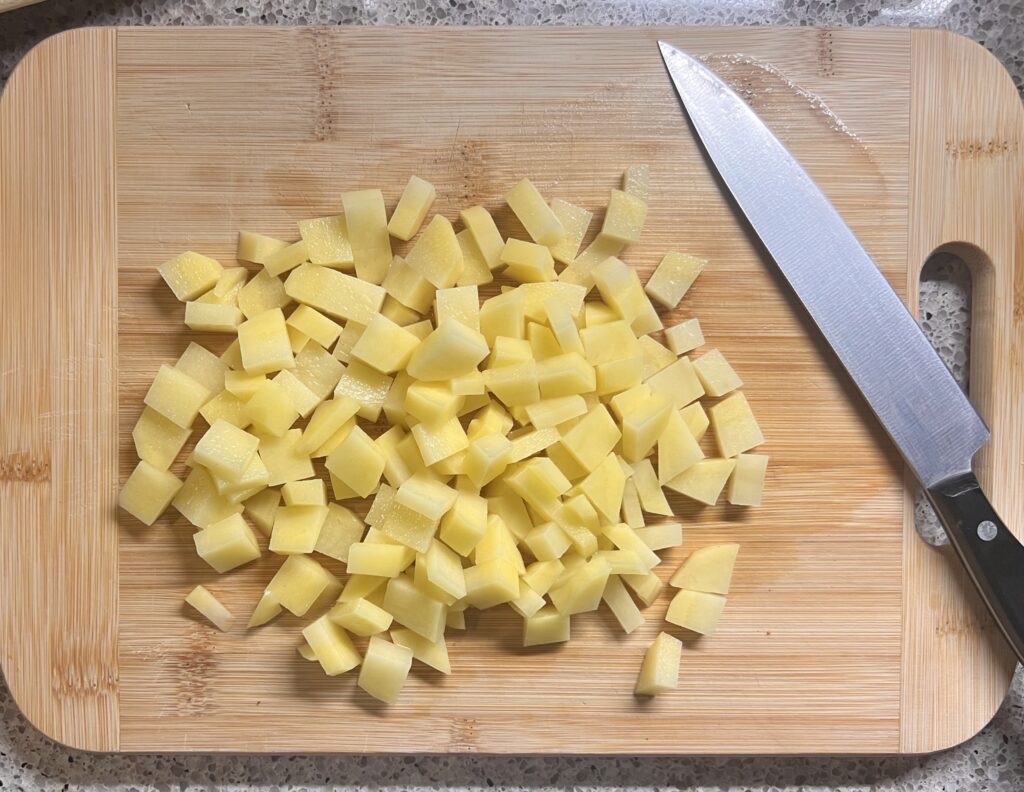
1 medium yukon gold potato
1-2 cups chopped spinach
3-4 chopped green onions
1 tbsp oil (any will do)
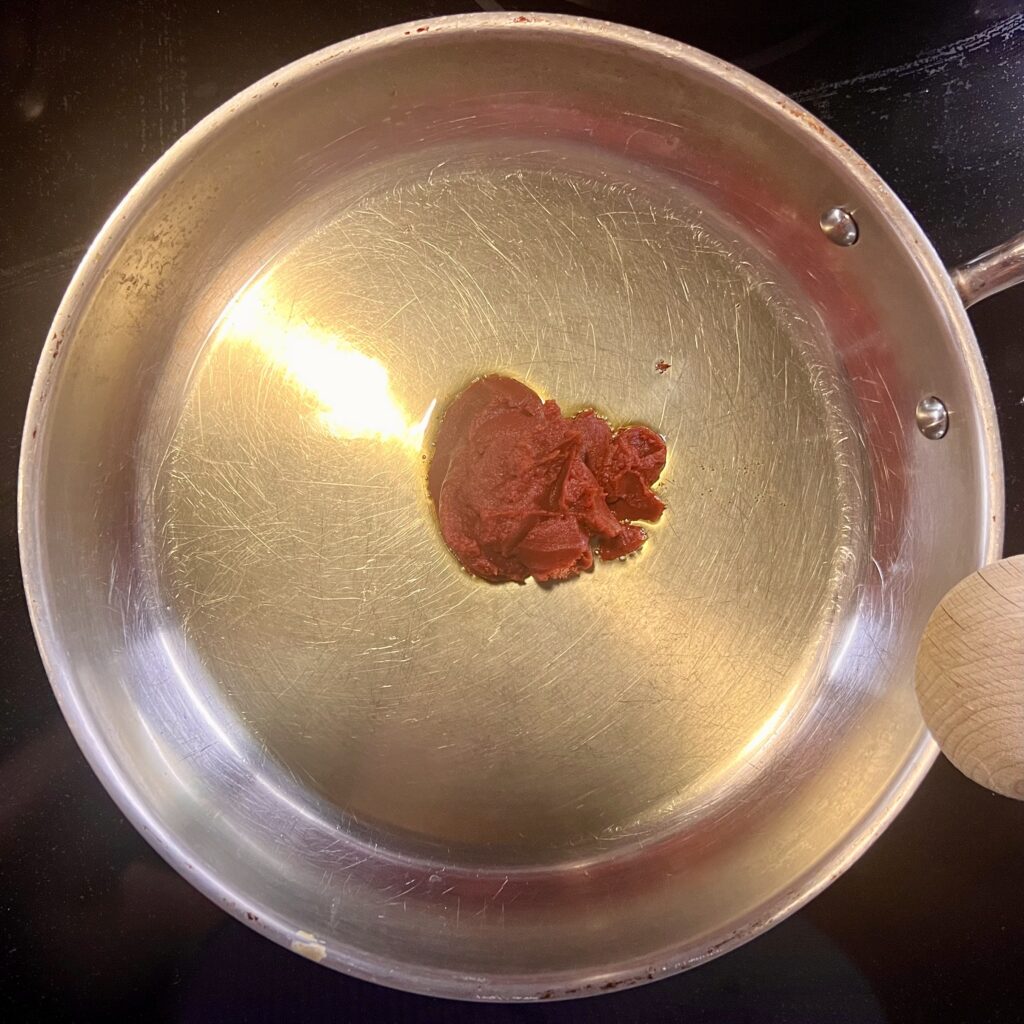
2 tbsp tomato paste
1 tbsp garlic powder
1 tbsp onion powder
1 tbsp cumin
1 tbsp ancho chilli powder
1 tsp turmeric
1-2 cups water
1 cup shredded cheese (optional)
Chopped coriander (optional)
Salt to taste
Pepper to taste
Method:
- If warming your tortillas in the oven, preheat the oven to the lowest temp (usually between 150 – 200 degrees) and lay them flat on a baking tray. Place the tortillas in the oven while preheating, and once the oven comes to temp turn it off and leave the tortillas in to keep them warm. Alternatively, wrap the stack in damp paper towels and microwave in 30 second increments until soft and pliable just before forming the tacos.
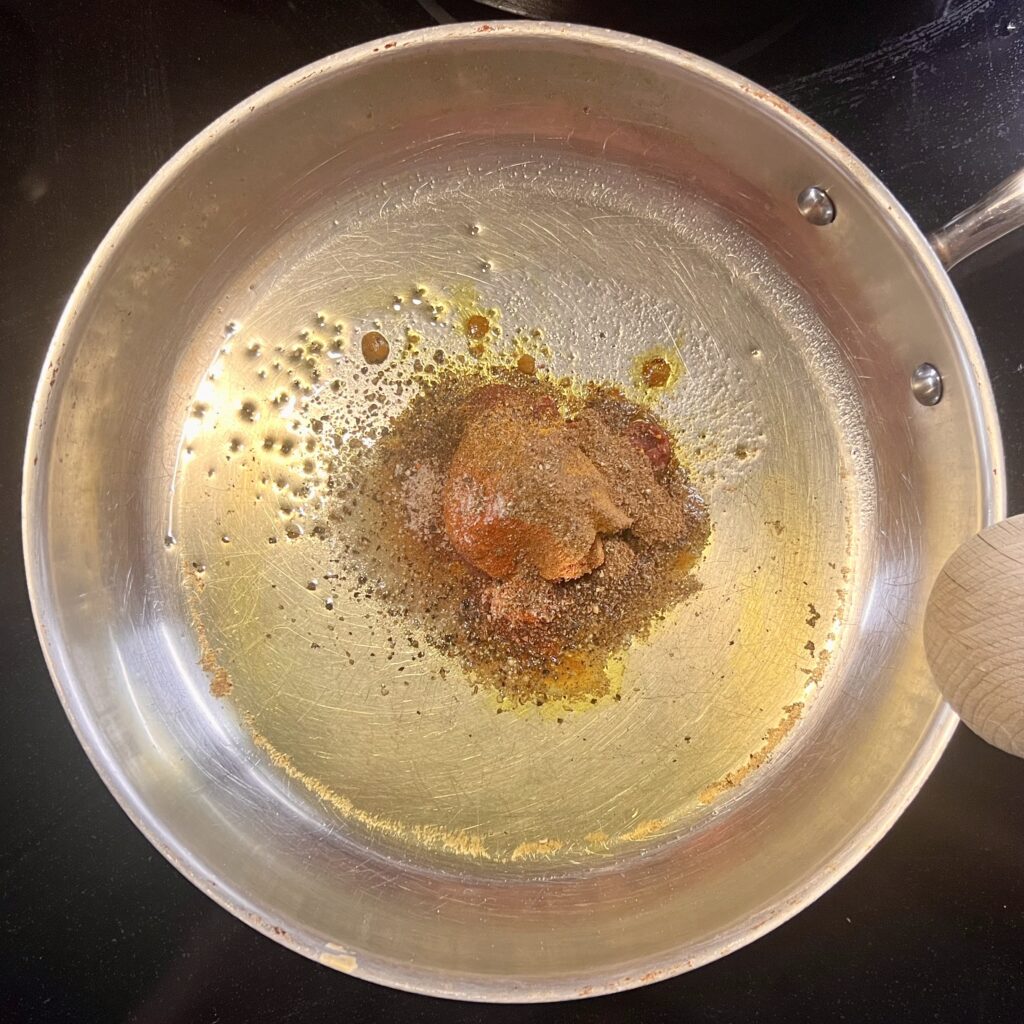
- In a medium pan, heat the oil over medium heat until shimmering and add the tomato paste and all the spices. Cook the tomato paste until it deepens in color and the spices become fragrant, about 5-8 mins.
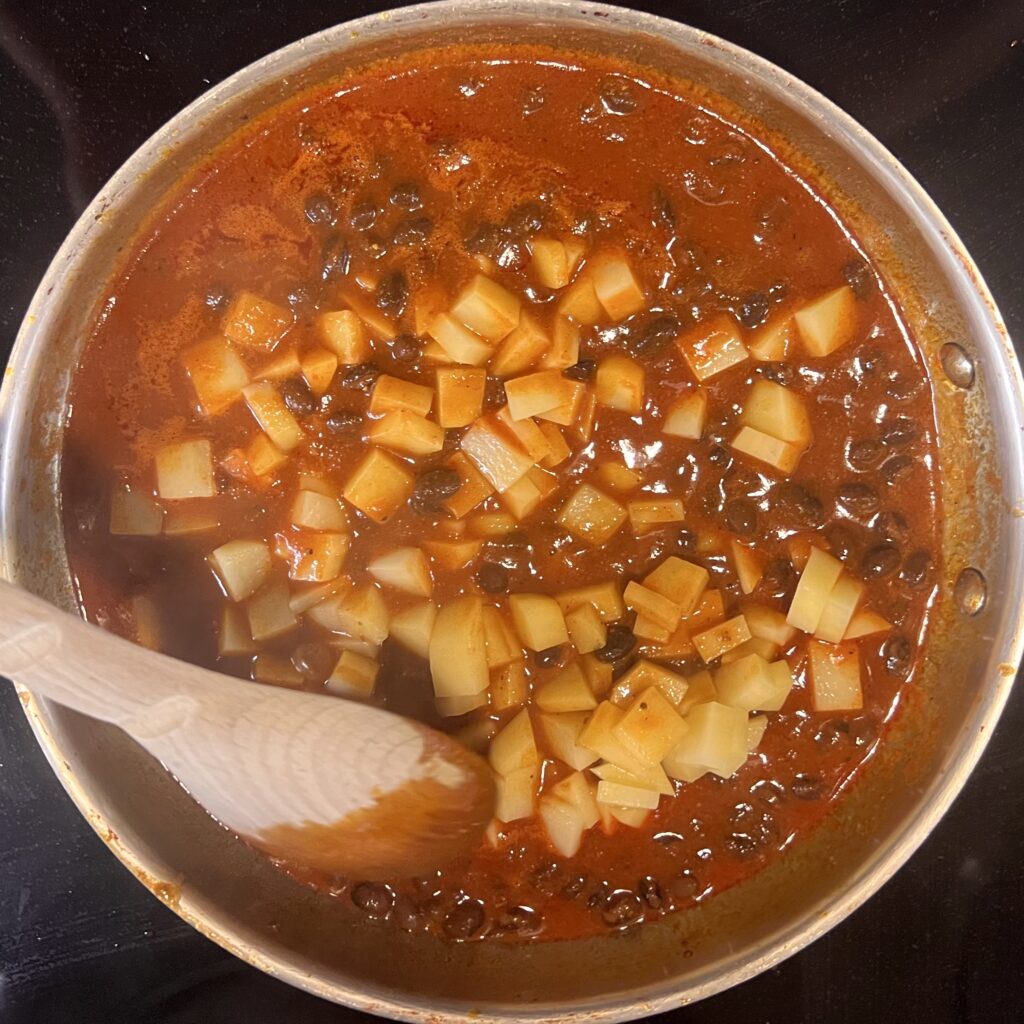
- In the meantime, drain and rinse your black beans. Let all the water drain off before adding them to the pan, along with about a cup of water. Bring the mixture to a low boil, and then turn the heat to low.
- While the mixture is simmering, chop your potato into roughly half inch cubes. Add them to the mixture, and add more water if needed until the potatoes are covered. Put a lid on the pan and let the mixture simmer on low for about 20 minutes.
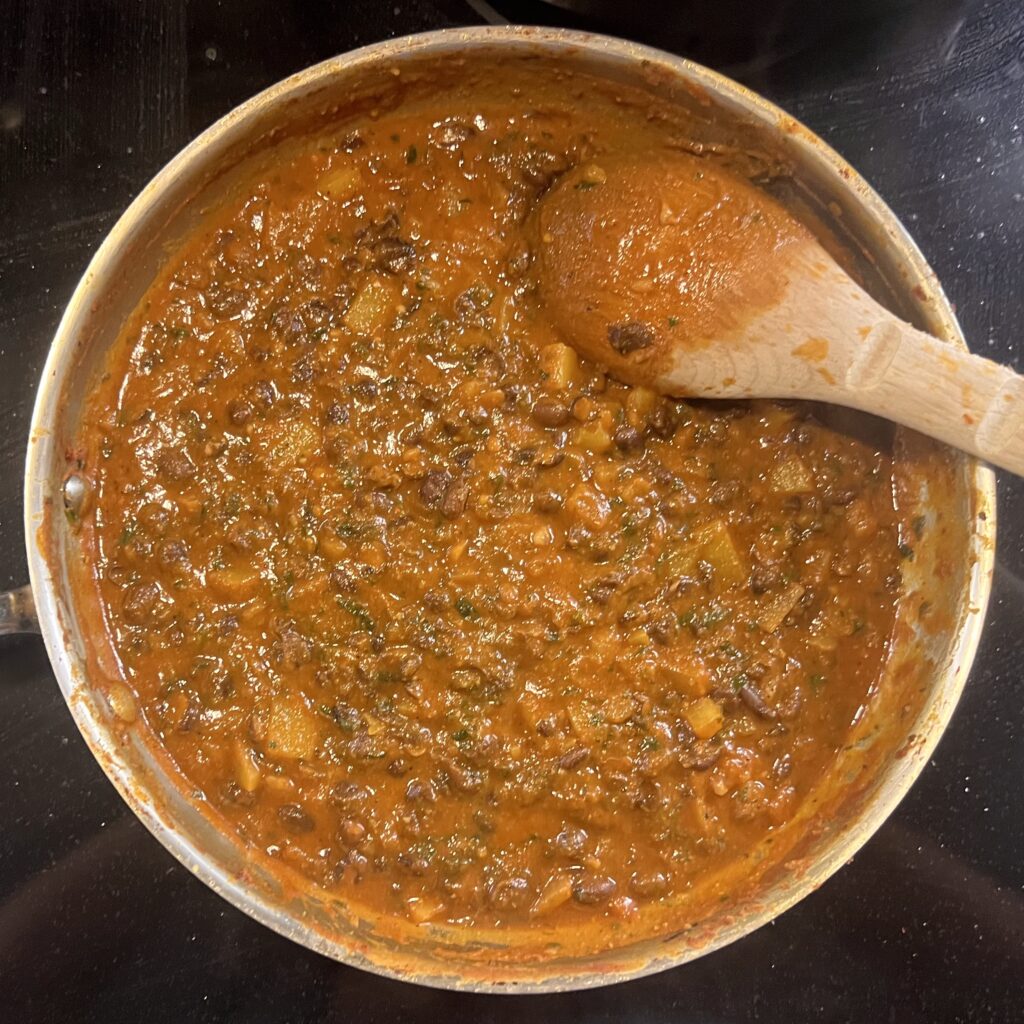
- Chop your spinach, green onions, and coriander if using, and add to the pan after the 20 minutes.
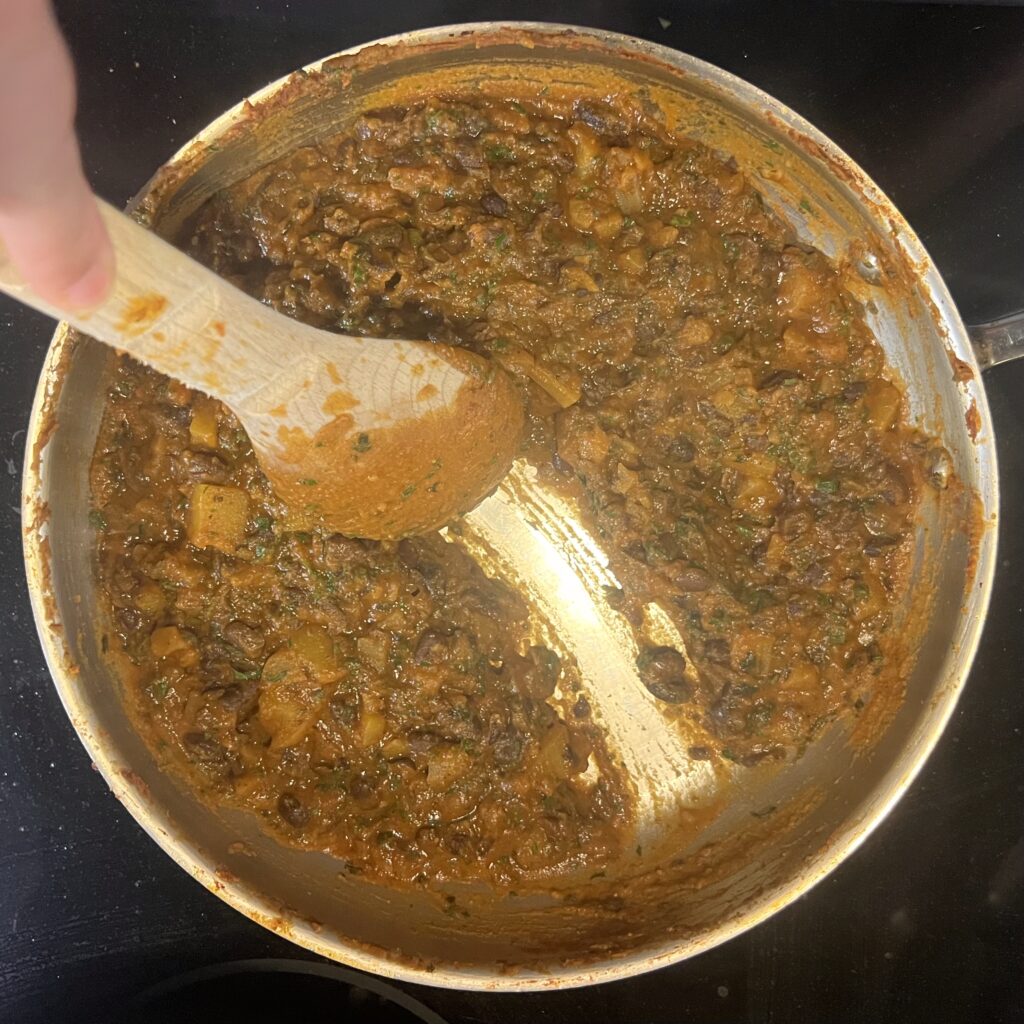
- Cook the mixture uncovered, stirring occasionally, until the liquid is mostly evaporated. At this point, use either the back of the spoon or a potato masher to mash approximately half the beans and potatoes to create a thick, paste-y mixture. Taste for seasoning and add salt and pepper as needed.
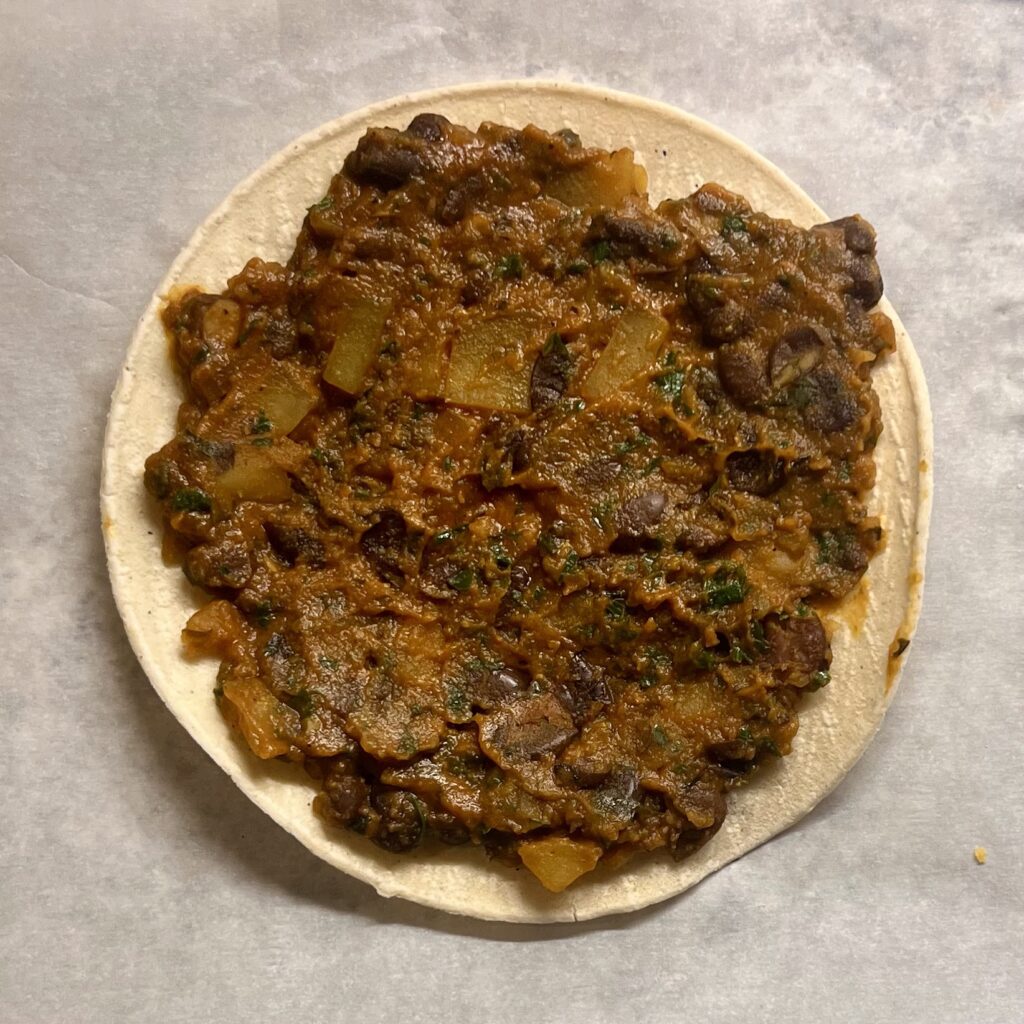
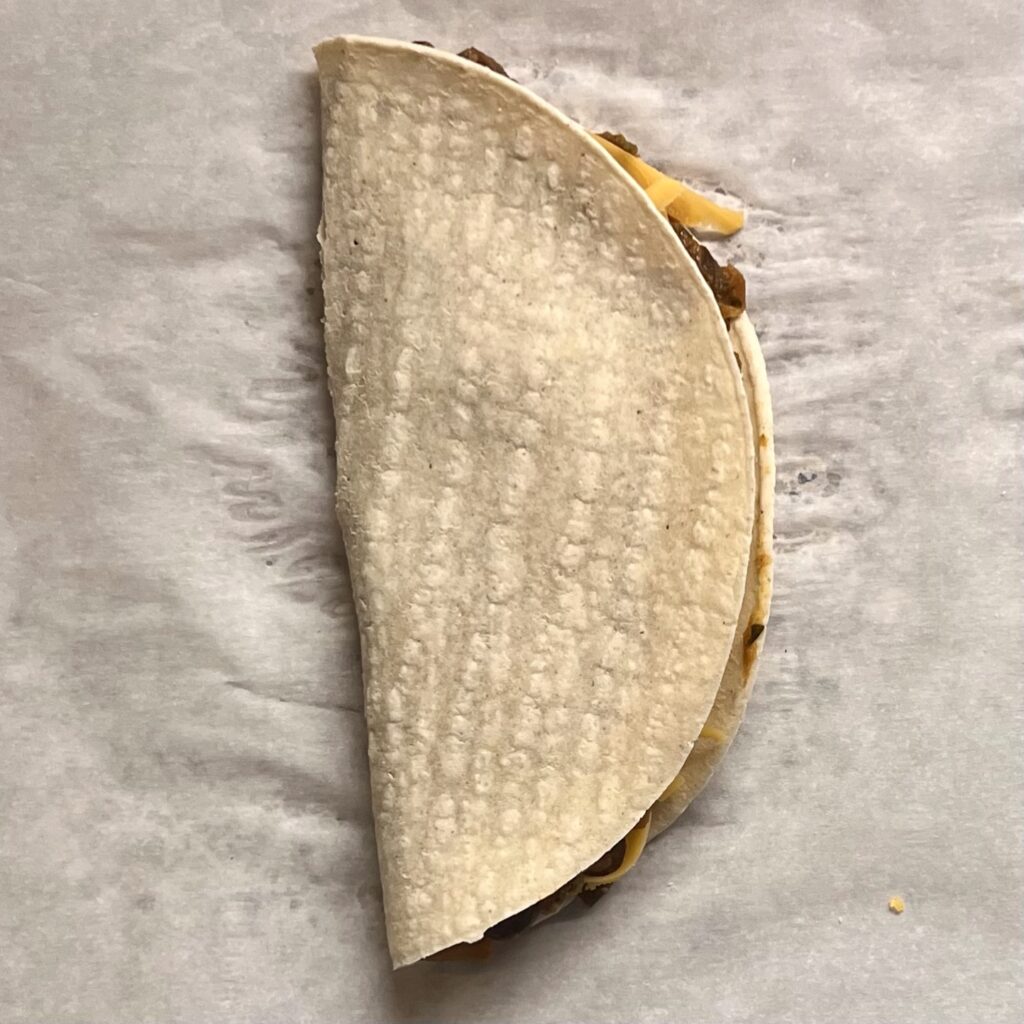
- To form the tacos, take about 2 tbsp of the bean and potato mixture and place it on the center of your tortilla. Spread the mixture evenly across the tortilla leaving about a 1/2 an inch around the edge. If adding cheese, place a small amount on one half of the mixture before folding the tacos into half.
- To freeze them, wait until they are fully cooled down, and then you can either flash freeze them by placing them on a baking sheet, making sure to leave space between them, and freezing them for an hour or two until solid before transferring into a freezer bag or container, or you can lay them in a freezer bag in two layers with a sheet of parchment placed between the layers. Both methods will keep the tacos from sticking to each other.
Reheating instructions:
- When reheating the tacos, take out your desired quantity and lay them flat onto some paper kitchen towel. You want to remove any frost from the outside to avoid splatter when they hit the hot oil. Once the frost is removed from one side, flip them over to remove the frost from the other side.
- In the meantime, heat some oil in a pan. There should be enough oil to coat the bottom of the pan generously. Heat the oil over medium low heat until hot, but not shimmering.
- Once the oil is heated, carefully place the tacos in. They will sizzle, so step back from the oil to avoid getting hit, but it will settle down after a minute or two. Cook the tacos for about 2-3 minutes per side, until the outside is golden brown and the filling has spread to the edges of the taco. (Some may ease out of the sides, that’s fine – you can push it back into the taco or leave it out).
- Let drain on a rack or paper towels for a few minutes for the excess oil to drain off.
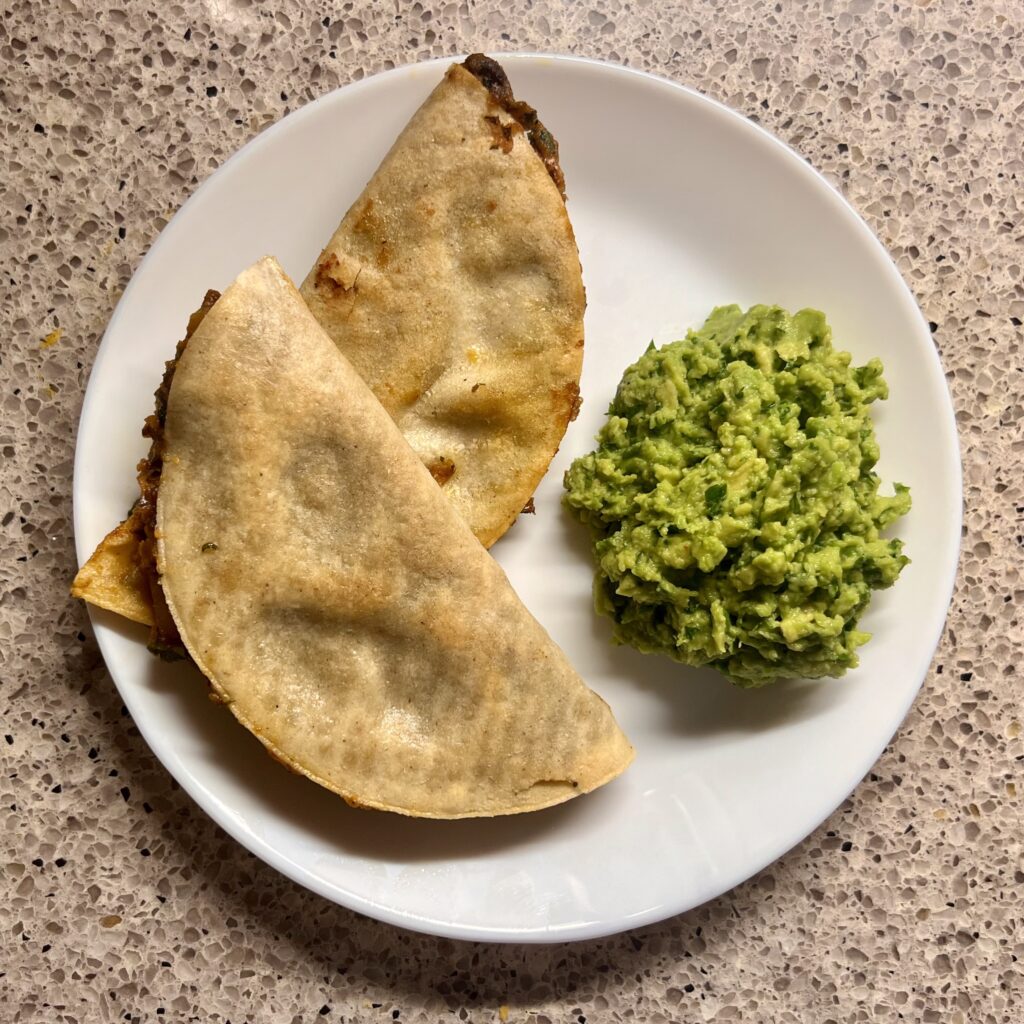
- Serve with your favourite taco dipping sauces, or open them up and stuff them with your favourite taco toppings and enjoy!
Notes:
- This recipe uses powdered seasonings as I much prefer them in applications like this, but you can just as easily substitute fresh garlic and onion in the recipe. For the quantities listed I recommend half a medium onion, and 4-5 large cloves of garlic, but you can adjust these to your taste.
- The tacos last about 6 months in the freezer, but will most likely be gone before then!
- The turmeric is not traditional in mexican dishes like this, but I find that adding it in along with the black pepper helps with bloating that is sometimes caused by beans, especially when using dried beans instead of canned. The taste is also negligible, but you can leave it out if you desire.
- I have made these with flour tortillas instead of corn, but found they did not fry as well. If substituting with flour tortillas, bake them to reheat instead in a 400 degree oven for about 10 minutes per side.
xx
girlwhocooks