Stock is the most complex, easy food anyone can make. And I really mean anyone – even those of you who burn toast.
To me, stock is also the quintessential “the sum is greater than the parts” dish. Taking the inedible parts of proteins along with a few cheap vegetables and turning them into a rich, hearty golden liquid that is full of collagen, B vitamins, zinc and even protein is practically kitchen magic. You can even play around with the ingredients to increase specific benefits, such as:
- Carrots: adds biotin and vitamin A, great for skin and hair health
- Garlic & Onion: adds vitamin C, a strong immune booster
- Celery: is a great source of both soluble and insoluble fiber, crucial for a healthy digestive system
- Ginger: anti-inflammatory, great immune booster and full of antioxidants
Not to mention it’s a set-it-and-forget-it recipe; virtually hands off for 90% of the cooking time.
With all that being said, the greatest thing about stock is that it forms the base for so many other great dishes. It can be used to create the most delicious, savoury sauces, the richest, most flavoursome soups or one of my favourites – silky smooth risottos.
In order to keep my stock versatile I tend to avoid adding traditional seasonings like salt, pepper, and whole spices to the stock when cooking, instead focusing on leeching the nutrients and flavours from the core ingredients – the chicken and vegetables. This way, once you have your stock portioned out and ready to use you can add to it to flavour it appropriately according to the dish you’re making. I have at times even excluded garlic and ginger on purpose in order to create a less intense broth which can be great to use in kid-friendly recipes, because it’s so easy to re-introduce those flavours into the broth if needed at a later date.
Of course, if you are planning to use the stock for a very specific dish that calls for specific flavours feel free to add them in along with your choice of veggies. Adding spices like black peppercorns, star anise, and cloves will leave you with a more earthy, slightly licorice-y taste that packs a punch, while adding salt, thyme, and bay leaves will leave you with a more traditionally chicken-y tasting broth reminiscent of a Sunday roast chicken dinner. That’s another great thing about stock – you can tweak it to your exact tastes by playing around with your inclusions.
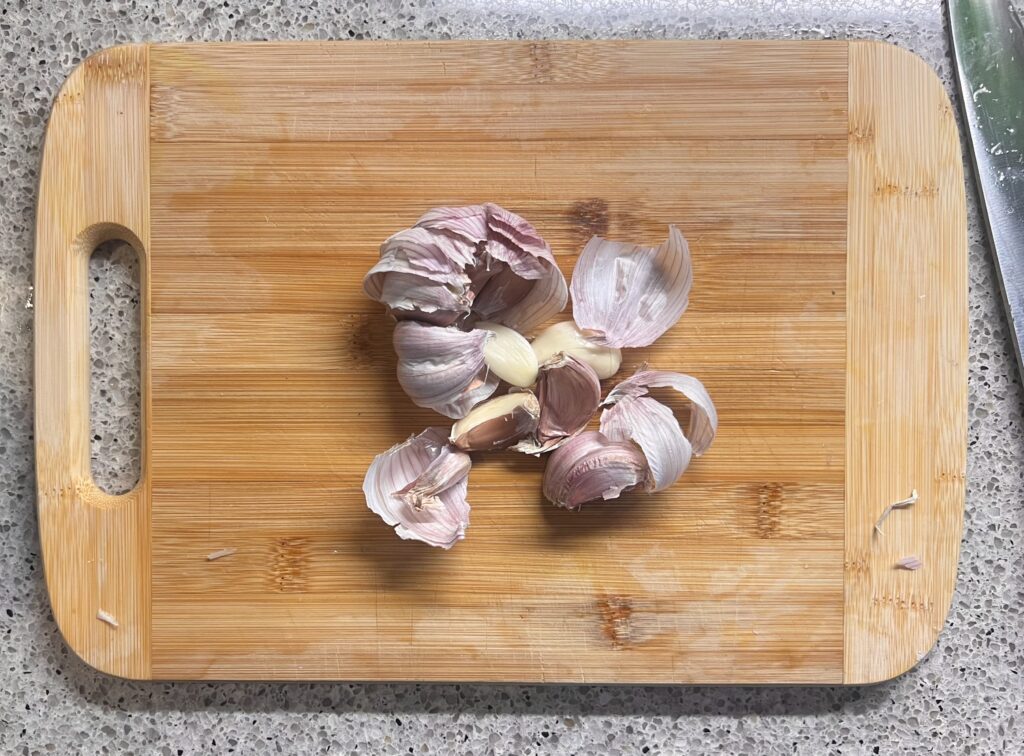
One debate that has been surfacing online is regarding using fresh, whole veggies in your stock vs using veggie scraps. Some claim that using fresh vegetables is a waste, others say using scraps can impart an earthy, dirty taste in the finished stock. To be completely honest, I have made stock both ways and couldn’t really taste a difference between the two, but I think this comes down to just making sure whatever scraps you use for your stock are thoroughly cleaned prior to being used, and avoiding using obviously damaged parts of produce. This means scrubbing your carrots before peeling them, discarding any onion skins that have black or brown spots, and discarding mushy or discoloured garlic. Avoid using veggie scraps that can’t be properly cleaned or lack flavour, such as onion roots or celery cores. Most of the time I end up making stock I use a mix of fresh veg and scraps, but either or works.
Timing is also key when it comes to stock. You want to cook the chicken bones low and slow, leaving them to leech out all the goodness from their cores. Vegetables on the other hand need less time if you’re adding them for nutrients – if you’re adding them for flavour, you can start everything at the same time. Vegetable stock only needs to cook for 30 minutes versus the 2-8 hour simmer time for chicken stock, so if you’re looking to get the most out of the veggies in your stock add them during the last 30 minutes of the simmer time to maximize those benefits.
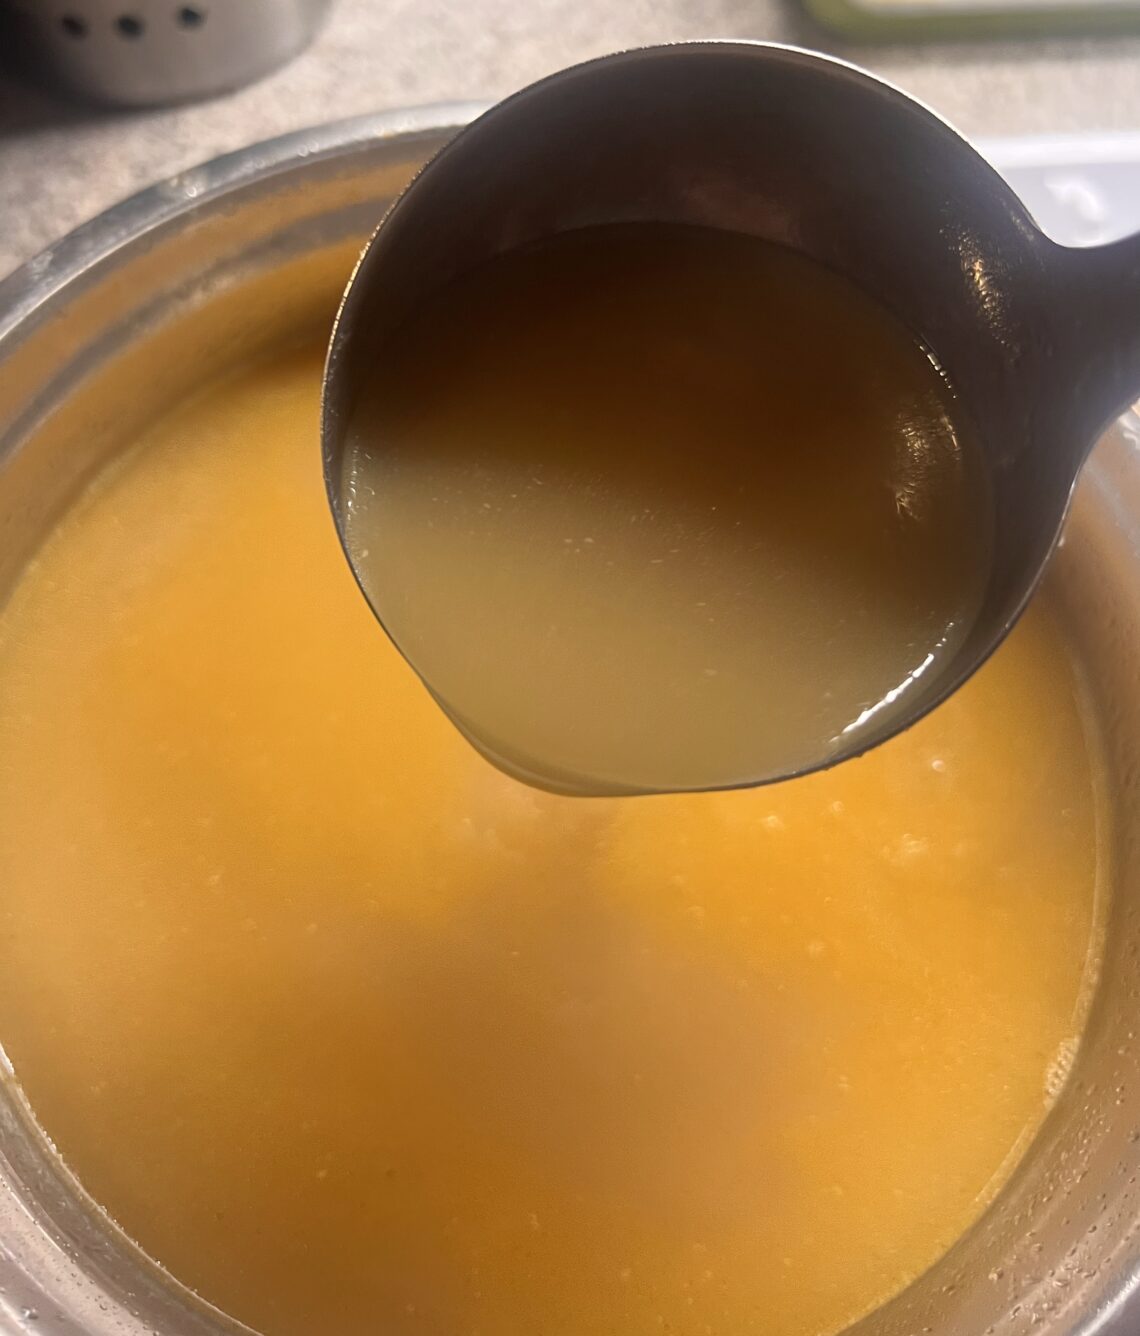
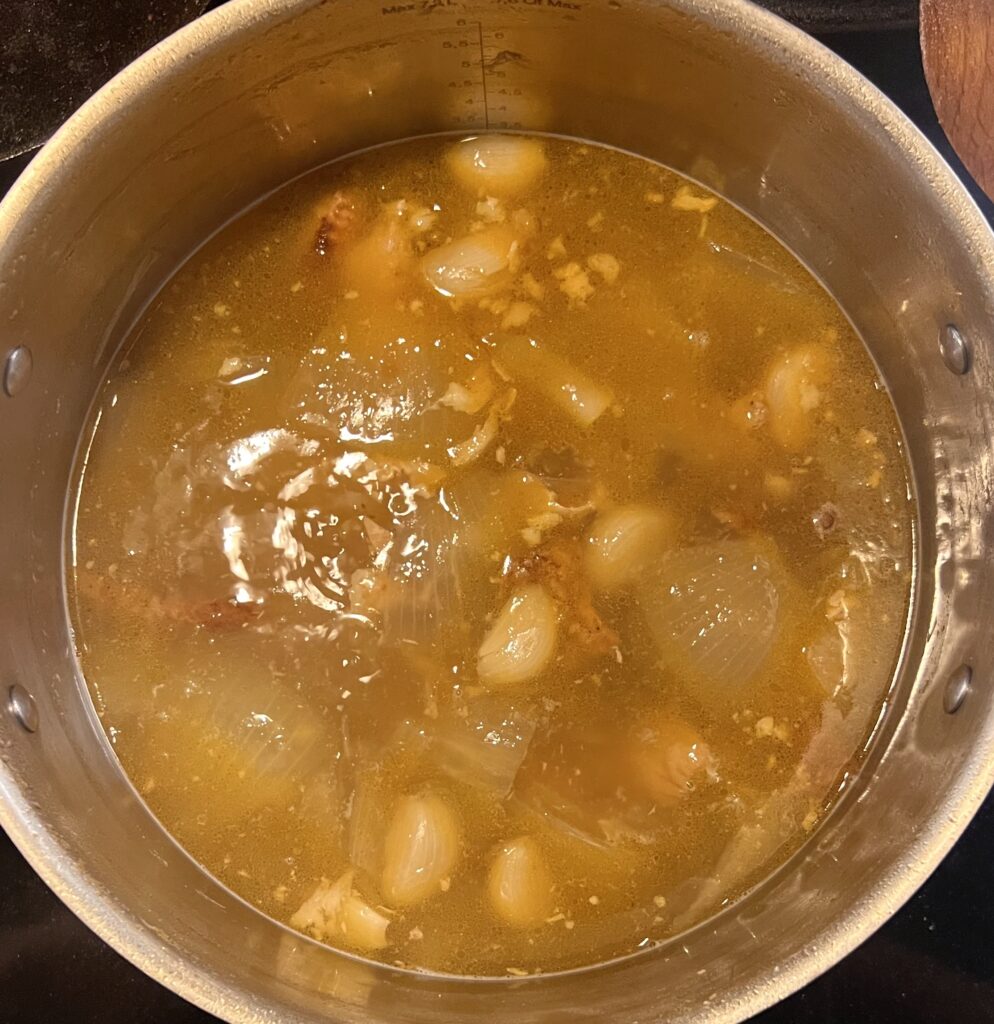
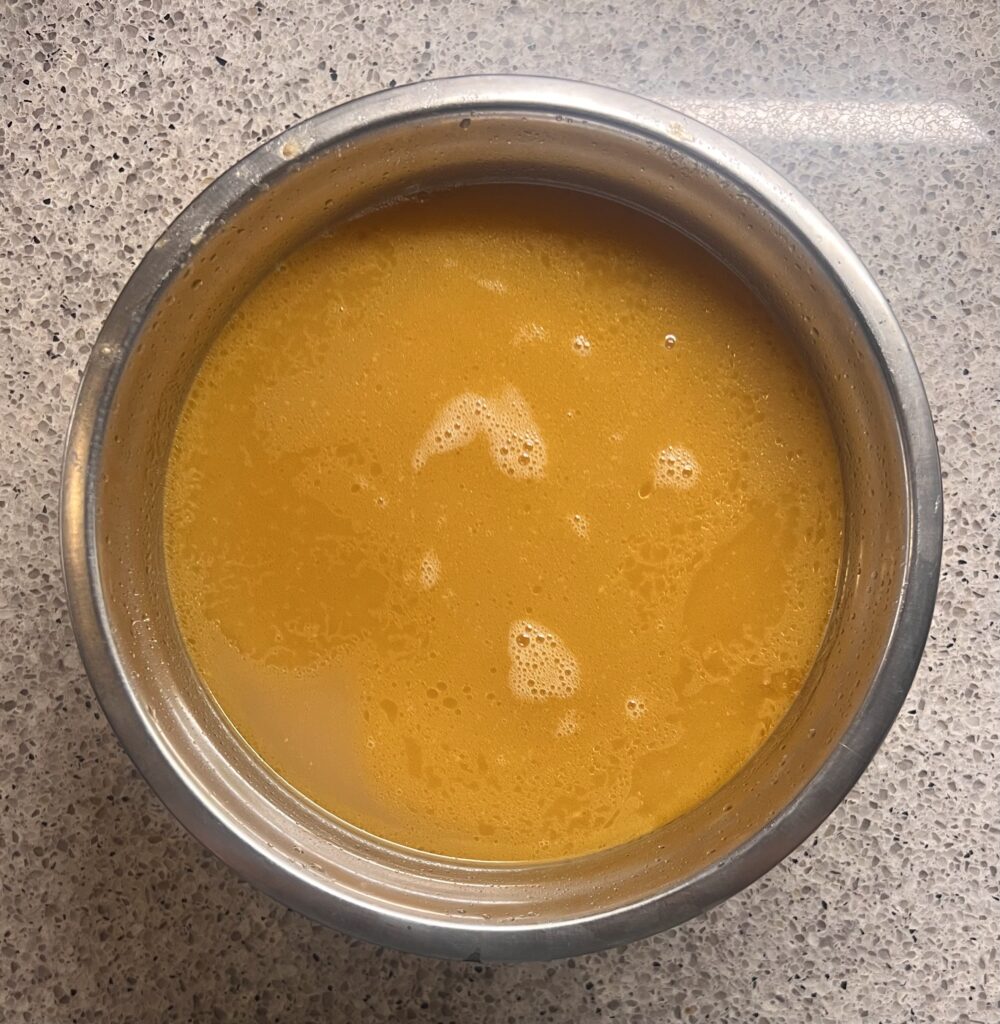
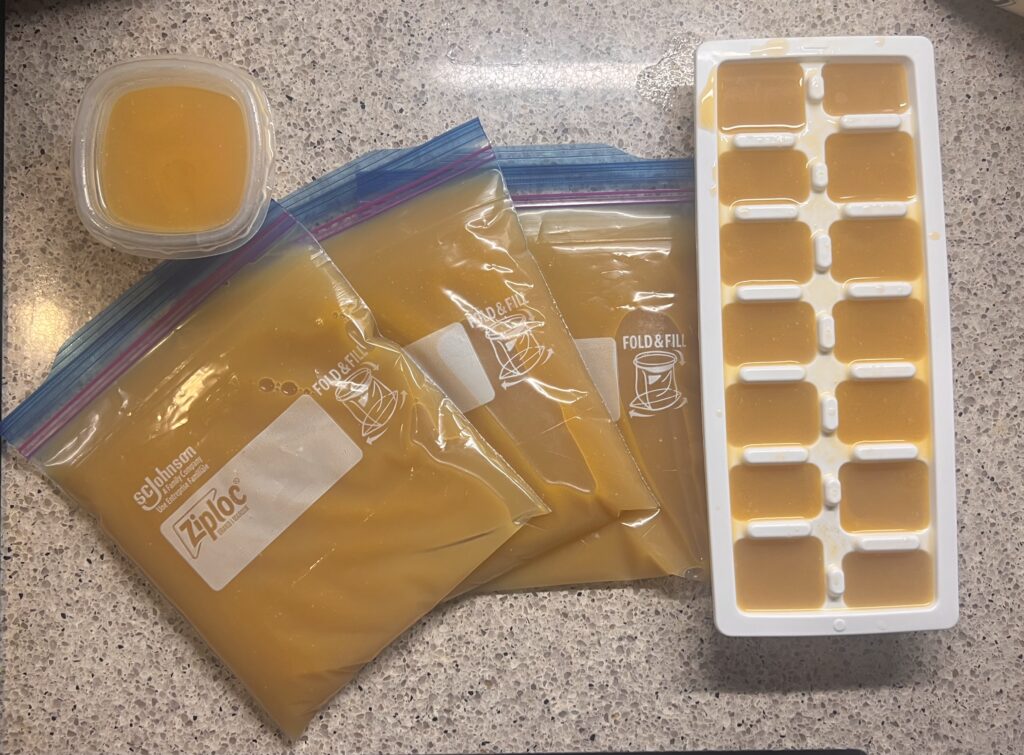
At the end of all of this you’re going to be left with a golden liquid filled with nutrients, flavour, and possibilities. Freeze it, can it, or drink it straight from the pot – it’s a truly versatile liquid that enhances any recipe you add it to and something no kitchen should be without!
Ingredients:
4 chicken thighs or legs, bone in skin on or off*
2 tbsp olive oil (or any neutral oil)
8 – 10 cups of cold water
Fresh veggies and aromatics, can include:
Carrots
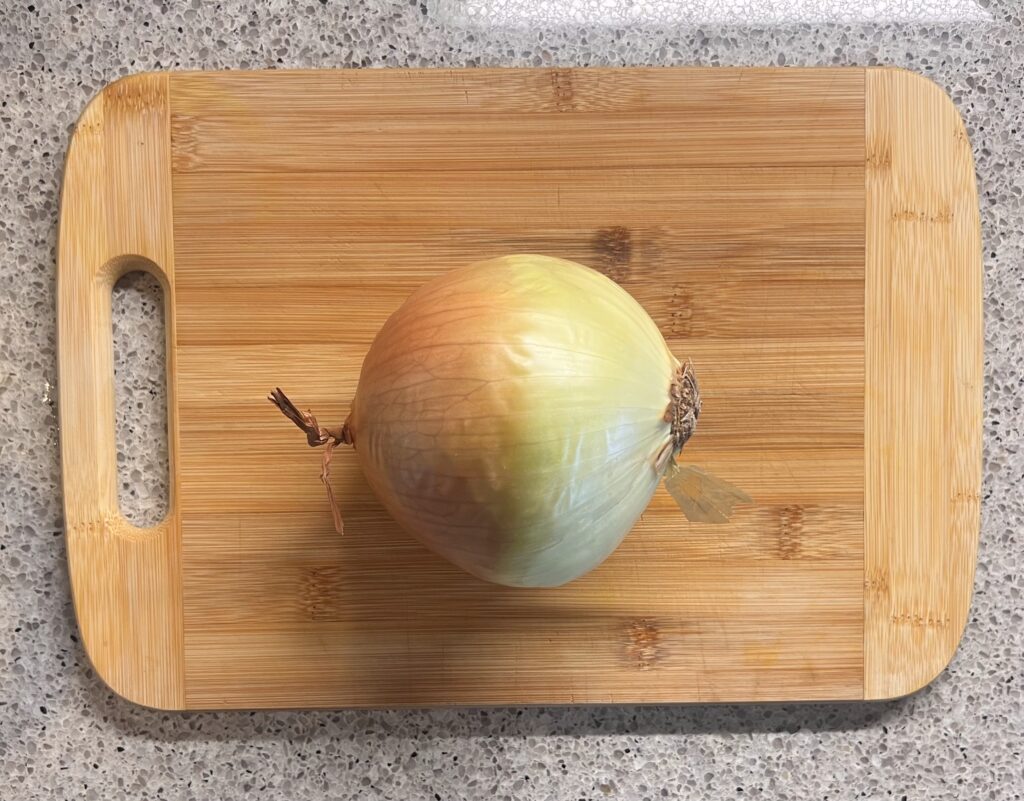
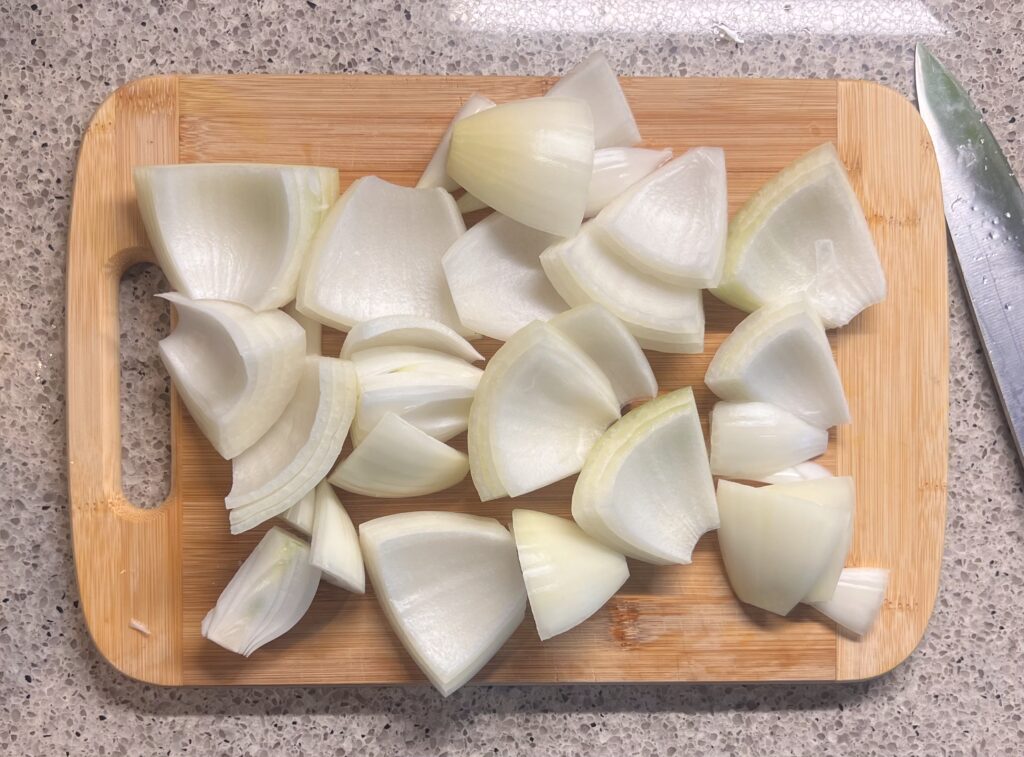
Onions
Celery
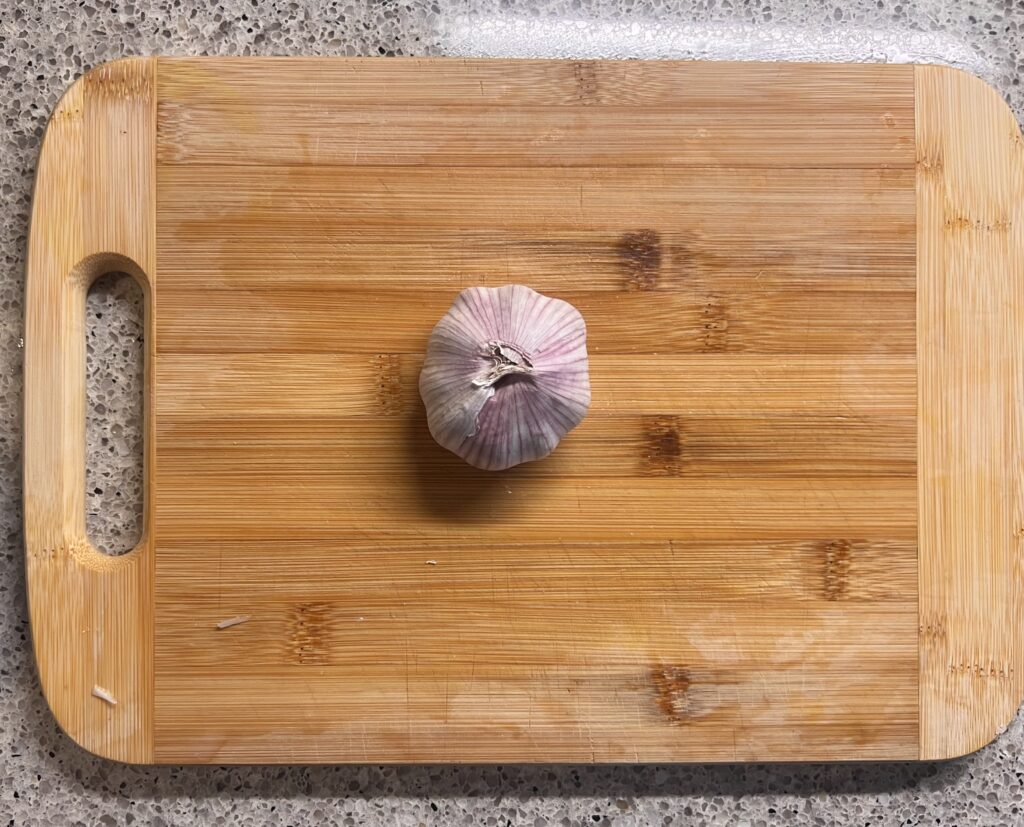
Garlic
Ginger
Fresh herbs
OR
Aromatic veggie scraps, can include:
Carrot skins and tops
Onion tops and inner skins
Celery ends
Garlic clove ends
Ginger peels
Green onion bottoms
Stems from fresh herbs/wilted herbs
Etc.
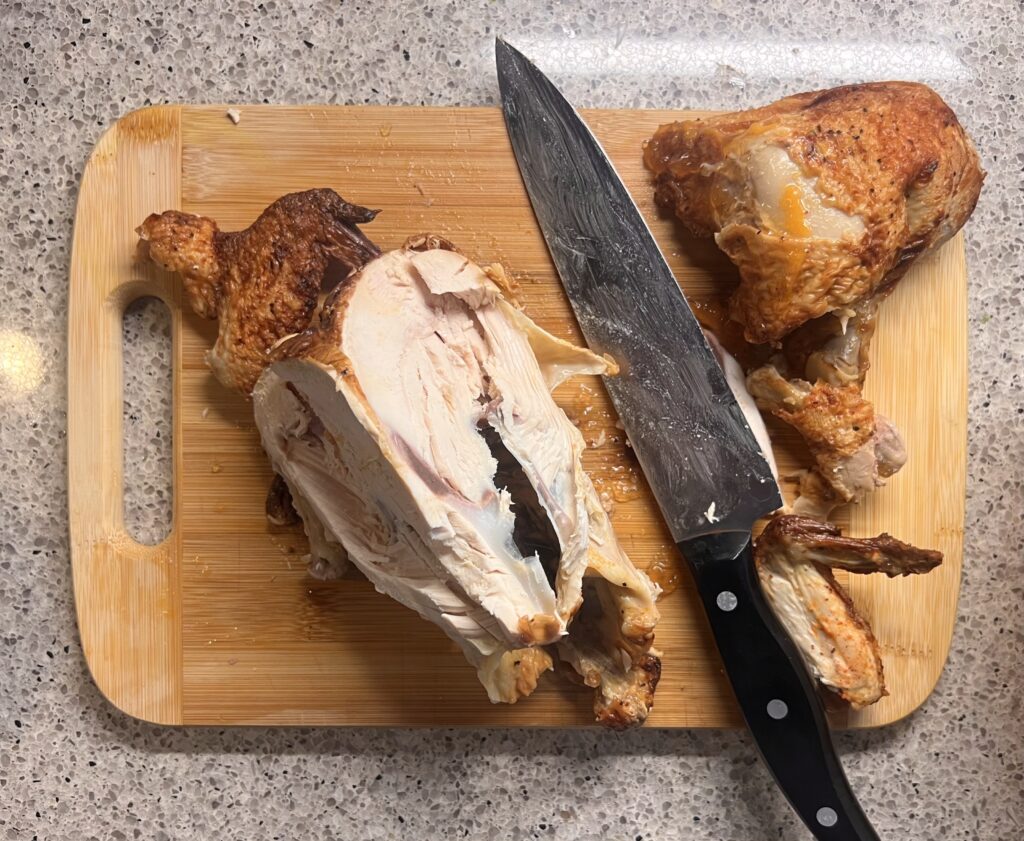
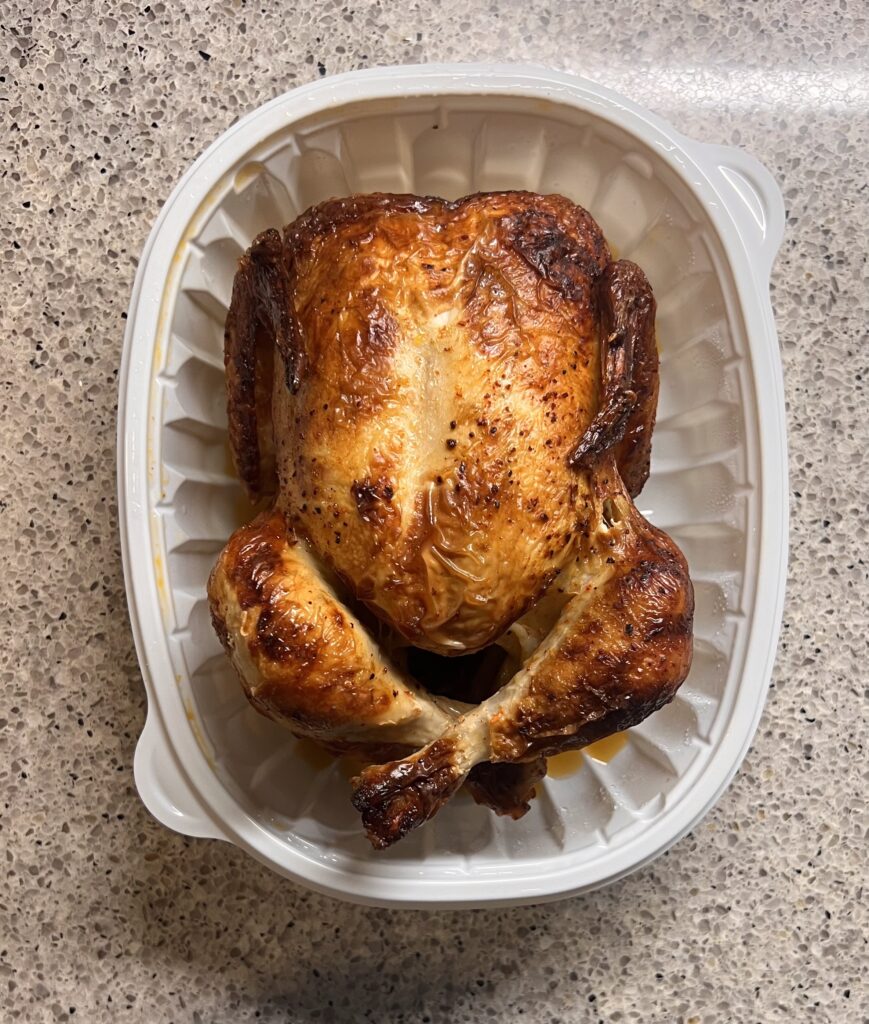
*You can also use a chicken carcass from a whole roast chicken, or if you’re partial to spatchcocking chickens the spine is a great replacement too.
Method 1:
- In a large pot over a medium heat, add the olive oil and bring to a shimmer.
- Once heated, add the chicken legs or thighs (skin side down first) and leave for at least 5-6 minutes, until the skin has developed some brown spots and is slightly crispy.
- Flip and cook for another 4-5 minutes.
- Once browned on all sides, add your veggies and/or veggie scraps and give everything a good mix together (try not to break the chicken apart too much). Saute for about 2 minutes, or until the scraps are fragrant.
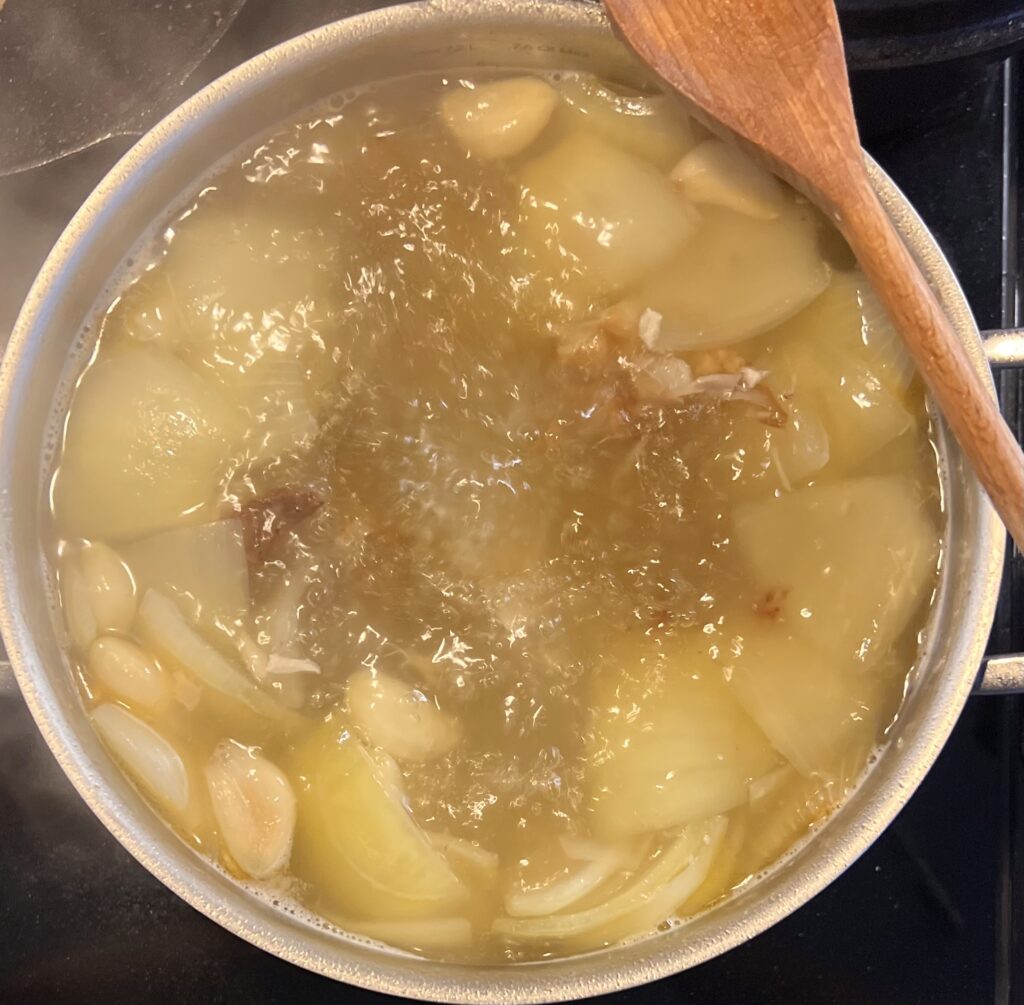
- Add your water (carefully, it may splatter at first) and stir, making sure nothing has stuck to the bottom. Bring the mixture up to a boil and then reduce the heat to medium low.
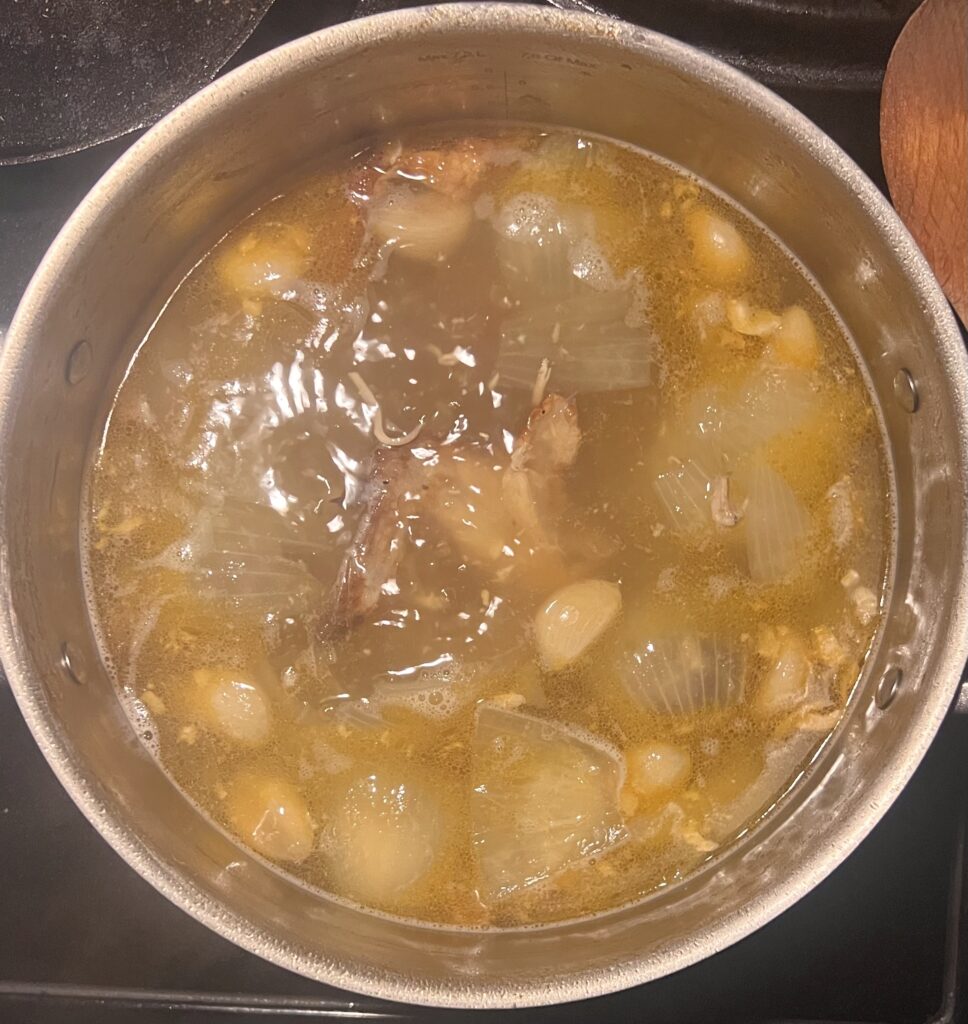
- Let the mixture simmer for at least 2 hours but up to 8 hours. The longer you let the mixture simmer, the deeper the flavor of your broth will be. Occasionally stir, and top up with additional water as needed (I try to keep the water level consistent throughout cooking). If any scum comes to the surface, use a spoon to skim it off and discard it.
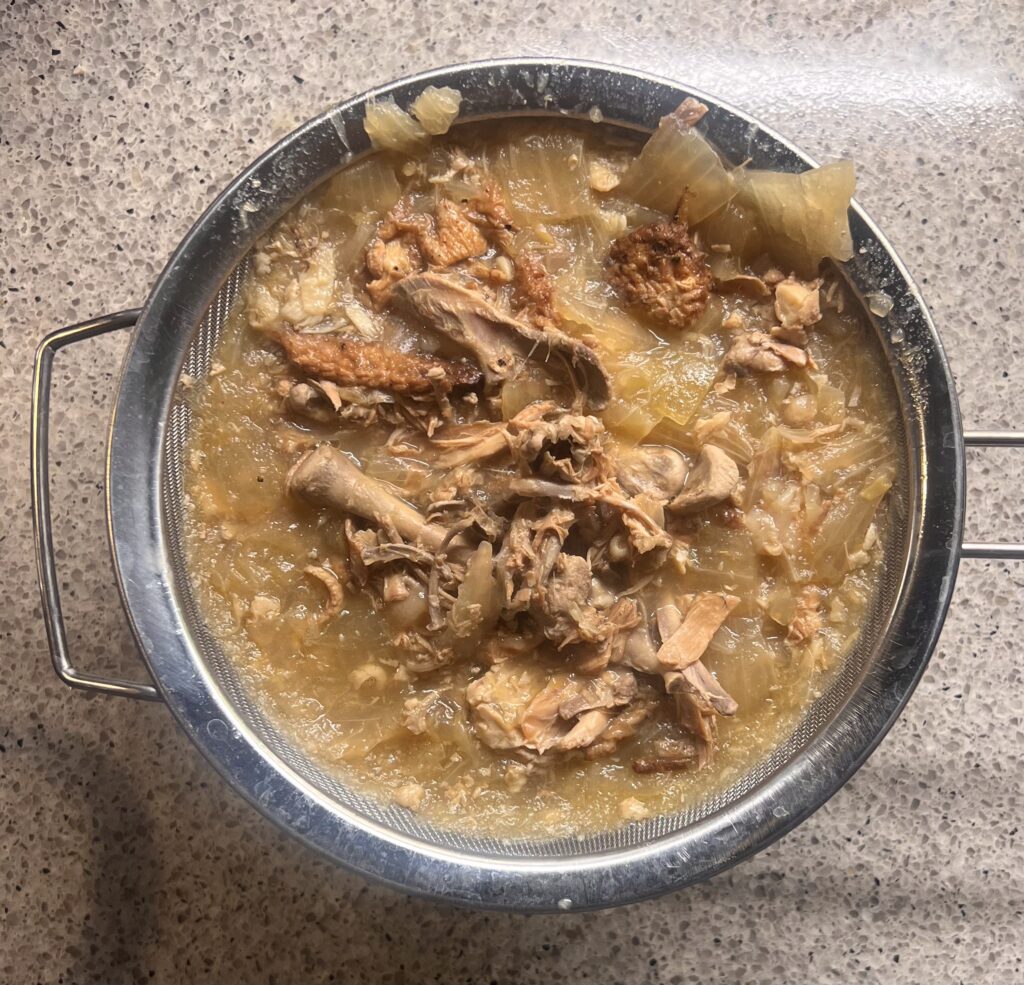
- After the mixture has simmered for 2-8 hours, turn off the heat and fish out the chicken legs/thighs. They will be very tender and falling apart, so make sure to poke around and get all the pieces.
- Using tongs or a spider spoon, scoop out all the veggie scraps and discard.
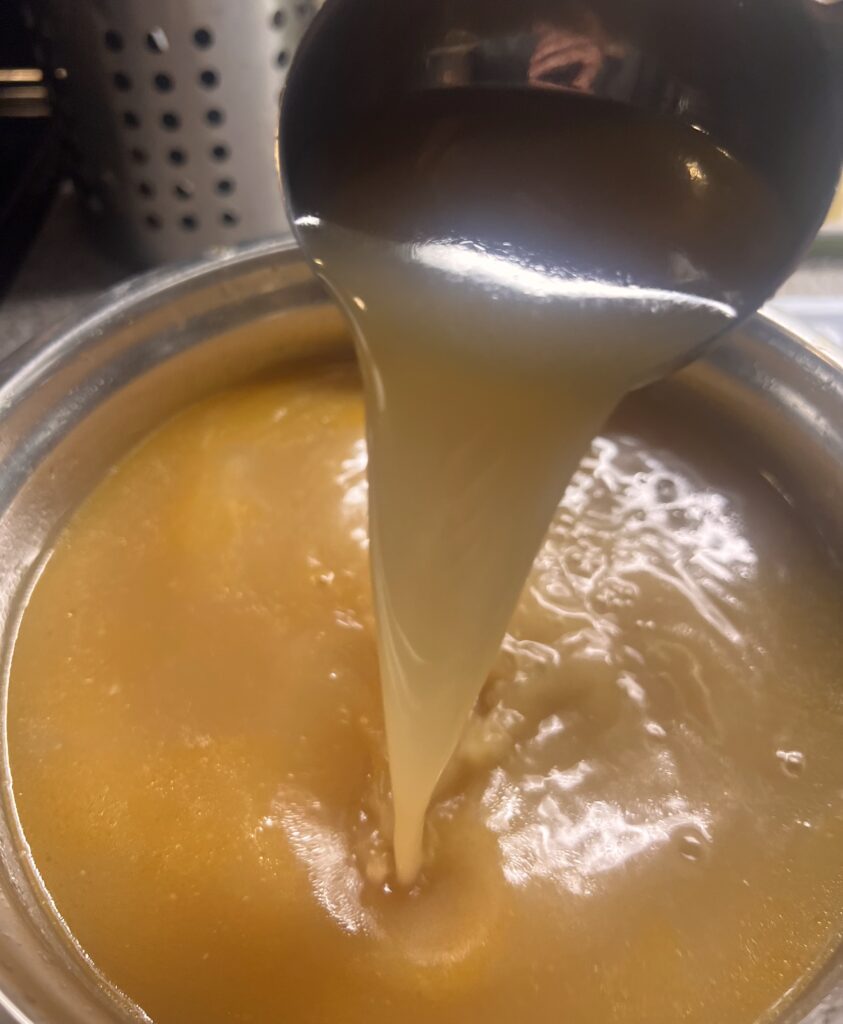
- Strain the mixture through a fine sieve (you can also line the sieve with cheesecloth if you want a clearer broth).
Method 2:
- Preheat the oven to 425 degrees.
- On a large baking tray, lightly toss the chicken legs/thighs in half the olive oil and spread them across the tray evenly.
- Roast them in the oven for about 30-45 minutes, until they have developed some colour.
- Once the chicken has developed some colour, take it out of the oven. Toss the veggies and/or veggie scraps in the remaining oil and spread them evenly across the tray before returning the tray to the oven for another 10-15 minutes until lightly browned.
- Once everything has roasted and has developed some good colour, remove from the oven. In a large stockpot, heat a small amount of oil (just enough to coat the bottom of the pan) until shimmering.
- Add the chicken, veggie scraps and your water (carefully, it may splatter at first) and stir, making sure nothing has stuck to the bottom. Bring the mixture up to a boil and then reduce the heat to medium low.
- Let the mixture simmer for at least 2 hours but up to 8 hours. The longer you let the mixture simmer, the deeper the flavor of your broth will be. Occasionally stir, and top up with additional water as needed (I try to keep the water level consistent throughout cooking). If any scum comes to the surface, use a spoon to skim it off and discard it.
- After the mixture has simmered for 2-8 hours, turn off the heat and fish out the chicken legs/thighs. They will be very tender and falling apart, so make sure to poke around and get all the pieces.
- Using tongs or a spider spoon, scoop out all the veggie scraps and discard.
- Strain the mixture through a fine sieve (you can also line the sieve with cheesecloth if you want a clearer broth).
Notes:
- If you use whole chicken thighs or legs and are going to be cooking the broth for longer than 2 hours, you can remove the chicken at that point and take the meat off before adding the bones back to the broth to continue cooking. The meat will be extremely tender, juicy and moist!
- If using a chicken carcass, toast in the oil before adding liquid to help impart a richer flavour in the broth.
- Roasting the chicken and the veggies prior to boiling your stock will impart a much deeper colour and flavour to your broth.
- Storing veggie scraps in the freezer until ready to use is a great way to cut down on waste in the kitchen!
- You want to avoid using veggie scraps that will impart an earthy, rooty taste in your stock. Scraps to avoid include potato skins, beetroot skins and tops, squash scraps and other hearty root vegetable scraps.
- The longer the stock cooks, the more it will reduce. You can keep the stock in the reduced form and dilute as needed, or keep adding liquid during the cooking process to keep it diluted and ready to use based on your preference.
- The longer you let the chicken bones cook, the more collagen and biotin will be extracted. By the end of cooking you’ll know if you got all the goodness out by gently squeezing the bones – if they crumble between your fingers that means you’ve got all the goodness out and into your stock.
xx,
girlwhocooks